
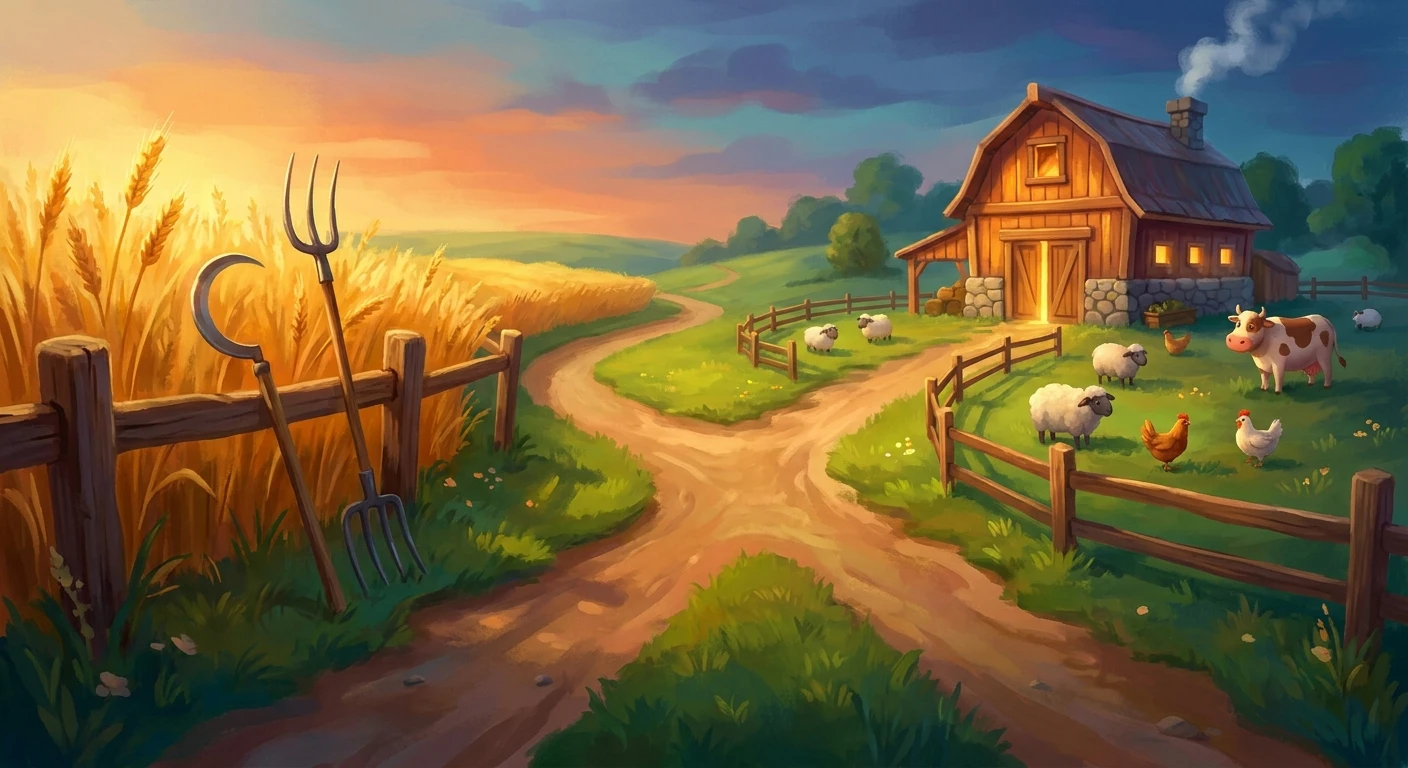
Deciding Between Stardew Valley Rancher or Tiller
Deciding whether to become a Stardew Valley Rancher or Tiller at Farming Level 5 is one of the first major strategic crossroads you will face in your agricultural journey. When that level-up screen appears after a long day of watering crops and petting chickens, the choice dictates how your economy will function for the foreseeable future. The decision is straightforward on the surface: the Rancher profession grants a 20% increase in the selling price of animal products, while the Tiller profession offers a 10% boost to the selling price of crops. However, the implications of this choice ripple out into the late game, directly impacting your ability to generate massive amounts of gold, optimize your daily routine, and unlock the most lucrative Level 10 farming professions.
Your choice fundamentally alters your daily gameplay loop. If you lean toward the Rancher path, your days will be heavily focused on tending to barns and coops, managing hay supplies, and ensuring your livestock is happy enough to produce high-quality goods. If you lean toward the Tiller path, your energy goes into large-scale irrigation, fertilizer management, and harvesting massive fields of seasonal vegetation. Understanding the core mechanics behind these two paths is essential for optimizing your farm layout and ensuring you have the capital needed to upgrade tools, construct new buildings, and unlock the deeper mysteries hidden within the valley.
Read also: Who is danica mason? Her Incredible Digital Wellness Rise; Mastering the royel maddell Protocol; Mastering The joshua dale Method Today.
Deep Dive into Farming Professions
To truly understand the value proposition of each profession, you need to look beyond the immediate percentage boosts and analyze how they interact with your overarching farm strategy. The Tiller profession immediately makes your raw crop harvests more valuable, which is phenomenal for early-game cash flow when you are mass-producing fast-growing crops like Parsnips, Potatoes, or Blueberries. On the other hand, the Rancher profession makes early animal products like Eggs and Milk significantly more profitable, helping offset the high initial cost of building silos, coops, and purchasing the animals themselves from Marnie.
Consider two concrete examples of how this value proposition plays out. If you harvest a base-quality Melon, it normally sells for 250 gold. With the Tiller profession, that same Melon immediately jumps to 275 gold. Over a field of hundreds of crops, that 10% compounds into enough extra cash to buy your next tool upgrade. Conversely, if you gather a base-quality Chicken Egg, it sells for 50 gold. With the Rancher profession, it sells for 60 gold. While 10 gold seems small, animals produce goods every single day regardless of the season, creating a highly consistent and reliable income stream during the winter months when crops are dormant.
| Profession Path | Level 5 Bonus | Level 10 Unlock Options |
|---|---|---|
| Rancher | Animal products worth 20% more | Coopmaster (Incubation/Quality) or Shepherd (Sheep/Quality) |
| Tiller | Crops worth 10% more | Artisan (Goods worth 40% more) or Agriculturist (Faster growth) |
| Strategic Value | Consistent daily income | Massive late-game burst income |
When structuring your early-game economy, keep these strategic priorities in mind:
- Maximizing early cash flow: Tiller provides an immediate return on investment for the seeds you buy at Pierre’s, allowing you to rapidly expand your field size season over season.
- Setting up Artisan goods: The Tiller path leads directly to the Artisan profession at Level 10, which is widely considered the most powerful economic engine in the game due to its 40% boost to wines, jellies, and cheeses.
- Reducing daily farm maintenance: A Rancher-focused farm can eventually be automated with Auto-Grabbers and Auto-Petters, allowing you to collect highly valuable animal goods with almost zero daily energy expenditure.
The Evolution of Farming Professions
Origins of the Level 5 Choice
When the valley was first opened to players, the choice between these farming paths was a monumental and permanent decision. Originally, whatever you picked at Level 5 locked you into a specific playstyle forever. Players who blindly chose Rancher because they liked animals often found themselves frustrated in Year 3 when they realized that their massive keg empires were missing out on the legendary 40% Artisan bonus that only the Tiller path could unlock. This rigid design forced the community to ruthlessly min-max their decisions right out of the gate, leading to a massive preference for the Tiller route purely for its late-game scaling potential.
Evolution Through Game Updates
The developer, ConcernedApe, closely monitored how the community interacted with these economic systems and realized that locking players into a permanent choice discouraged experimentation and organic gameplay. A massive turning point in the game’s history occurred with the introduction of the Statue of Uncertainty in the Sewers. This brilliantly implemented feature allowed players to pay 10,000 gold to change their professions overnight. Suddenly, the meta shifted entirely. You could now choose Rancher in the early game to boost your immediate income from chickens and cows, and then seamlessly switch to Tiller and Artisan later once you had built up a massive stockpile of Starfruit wine and Truffle oil.
Modern State of Farm Economies
Today, the economic landscape of the valley is highly dynamic. The flexibility to pivot means that there is no longer a single “wrong” answer, only optimal timing. Modern farming strategies often involve utilizing Rancher during the first Winter to maximize the profits of mayonnaise and cheese while crops cannot grow, and then pivoting to Tiller right before a massive Spring harvest. This fluidity has transformed the game from a rigid path into a dynamic economic puzzle where smart players adapt their professions to match their current farm infrastructure and seasonal limitations.
The Mechanics Behind the Math
Calculating Profit Margins and Multipliers
Understanding the underlying mathematics of the game engine is crucial for mastering your farm’s economy. The game calculates the selling price of an item by taking its base value and applying quality multipliers (Silver, Gold, Iridium) before stacking the profession multiplier on top. For Tiller, a 10% increase might seem mathematically inferior to Rancher’s 20%, but the sheer volume of crops you can harvest simultaneously far exceeds the number of animals you can house. A field of 500 Cranberries yielding multiple berries per harvest will generate a total revenue volume where that 10% translates to tens of thousands of gold, drastically outperforming the 20% bonus applied to a dozen daily eggs.
Artisan Goods and Compound Interest
The true scientific genius of the Tiller path lies in its Level 10 unlock: the Artisan profession. When you process a crop in a keg or preserves jar, the game uses the base value of that crop to determine the value of the resulting wine or jelly. If you have the Artisan profession, that final processed good receives a massive 40% price increase. This creates a compounding effect on high-value crops like Ancient Fruit or Starfruit.
- Base Multipliers: Tiller directly increases raw crop sell prices, but does not affect processed goods unless paired with Artisan at Level 10.
- Rancher Mechanics: Rancher boosts raw animal goods (milk, eggs, wool) by 20%, but it is important to note that turning these into cheese or mayonnaise removes the Rancher buff unless you also have the Artisan buff from the Tiller tree.
- Growth Formulas: The Agriculturist branch of the Tiller tree increases crop growth speed by 10%, which stacks additively with Speed-Gro fertilizers, allowing for entirely new harvest cycles within a tight 28-day season.
- Quality Mechanics: Coopmaster and Shepherd (Rancher Level 10) significantly reduce the time needed to befriend animals, drastically increasing the rate at which they produce Iridium-quality goods.
7-Step Guide to Choosing Your Farming Path
Step 1: Analyze Your Current Farm Layout
Take a long look at your available land. If you are playing on the standard farm map, you have massive amounts of tillable soil, making the Tiller path highly lucrative. If you are on the Riverland or Meadowlands farm, your tillable space is severely restricted, meaning a Rancher-focused layout with dense coops and barns might be much more space-efficient and profitable.
Step 2: Review Your Spring and Summer Crop Output
Calculate how many seeds you are actively watering every day. If you are struggling to maintain a large field due to low energy levels and a lack of quality sprinklers, the Tiller bonus will not do you much good. You need high volume to make the 10% boost worthwhile. If you are only growing 30 crops at a time, consider pivoting your focus.
Step 3: Count Your Current Animal Population
How many silos do you have? Do you already own a coop and a barn? If you have managed to acquire a flock of chickens and a few cows before hitting Farming Level 5, the Rancher profession will immediately boost your daily cash flow, helping you afford the expensive tool upgrades needed to mine deeper for sprinkler materials.
Step 4: Map Out Your Level 10 Goals
Look ahead to the late game. Do you want to spend your days filling hundreds of kegs with Ancient Fruit? Then you absolutely must plan for the Tiller to Artisan pipeline. Do you prefer a cozy farm where you just pet sheep and collect high-quality wool without the industrial-scale processing? The Rancher to Shepherd pipeline is perfect for a relaxed, low-maintenance playstyle.
Step 5: Calculate Daily Energy Expenditure
Watering crops by hand is the biggest drain on your daily energy. Animals, however, only require a quick pet and some hay, taking almost no energy at all. If you find yourself exhausted by 10:00 AM every morning, leaning into a Rancher setup early on can free up your energy bar for mining, fishing, and foraging.
Step 6: Visit the Statue of Uncertainty (If Changing)
If you made a choice you regret, do not panic. Once you unlock the Sewers by donating enough items to the museum, you can visit the Statue of Uncertainty. Pay the 10,000 gold fee, sleep for the night, and you will be prompted to select your new Level 5 and Level 10 professions before the next day begins.
Step 7: Commit to an Artisan Processing Pipeline
Regardless of whether you focus on crops or animals in the early game, processing your raw materials is always the most profitable route. Even if you start as a Rancher to boost early egg sales, you should eventually start building mayonnaise machines. Once you have enough machines, plan your transition to the Artisan profession to maximize the value of every single item your farm produces.
Common Misconceptions About Farming Professions
Myth: Rancher is completely useless in the late game.
Reality: While it is true that Artisan generates more total gold, a specialized Shepherd build running massive barns full of sheep can produce incredible amounts of Iridium-quality wool daily. This provides a highly competitive, completely passive income stream that requires zero processing time in kegs or jars.
Myth: Tiller instantly makes you rich.
Reality: The Tiller profession only adds a 10% bonus. If your farm is poorly optimized, unfertilized, and tiny, 10% of a small number is still a small number. It requires volume and scale to actually make you wealthy.
Myth: You can never change your profession once chosen.
Reality: Thanks to the Statue of Uncertainty located in the Sewers, you can easily swap your professions for a flat fee of 10,000 gold, allowing you to adapt your strategy at any point in your playthrough.
Myth: Animal products are not affected by Artisan if you chose Rancher.
Reality: The Artisan buff (Level 10 Tiller) applies to mayonnaise and cheese. If you have Rancher, your raw milk is worth more, but turning it into cheese actually loses you money in the late game unless you switch paths to claim the Artisan buff for processed goods.
Frequently Asked Questions
Which is better for beginners?
Tiller is generally better for beginners because it perfectly naturally aligns with the core gameplay loop of planting and harvesting crops, leading directly to the highly lucrative Artisan profession later on.
Does Tiller affect foraged items?
No, the Tiller profession strictly affects grown crops. Foraged items are governed by the Foraging skill tree and its respective professions like Gatherer and Botanist.
Do Rancher bonuses apply to truffles?
Yes, raw truffles are considered an animal product and benefit from the Rancher price increase, making a pig-heavy farm incredibly profitable even before you craft oil makers.
How much does it cost to change professions?
It costs exactly 10,000 gold at the Statue of Uncertainty in the Sewers. You can change your profession as many times as you like, provided you have the funds.
Can I choose both professions?
In the standard unmodded game, you can only choose one path. However, reaching the pinnacle of the game and achieving Perfection allows for certain late-game buffs, but for standard leveling, it is a strict either/or choice.
Does Tiller boost Artisan goods directly?
No, the Level 5 Tiller perk only boosts raw crops. You must reach Level 10 and select Artisan to see the 40% boost applied to processed goods like wine and cheese.
Are animal products worth the effort early?
Absolutely. While crops take days or weeks to grow, animals provide a steady, daily income stream that is essential for buying early tool upgrades and funding your seasonal seed purchases.
In conclusion, the decision between becoming a Stardew Valley Rancher or Tiller shapes the foundational economy of your farm. Whether you want to build a sprawling industrial crop empire or a cozy, animal-filled sanctuary, understanding the mechanics ensures your hard work pays off. Evaluate your farm layout, plan your Level 10 goals, and remember that you can always adapt your strategy later. Get out there, upgrade your tools, and start maximizing your daily profits!